
"Nothing in the world is worth having or worth doing unless it means effort, pain, difficulty…" Theodore Roosevelt
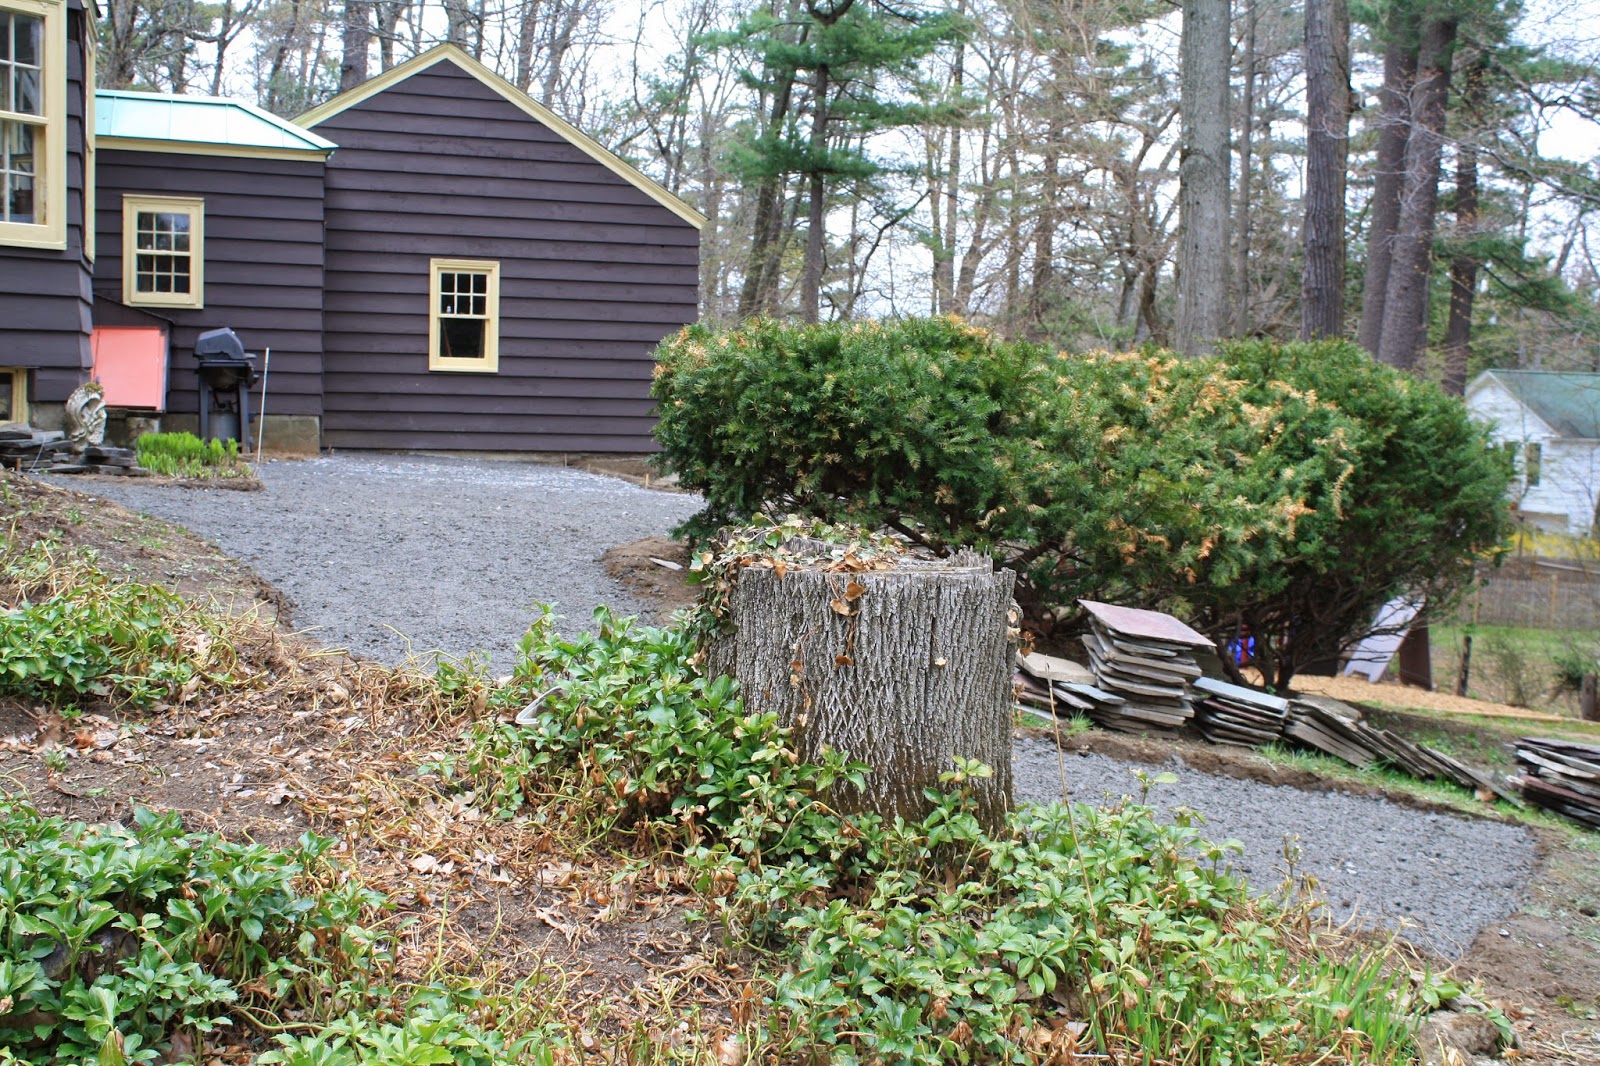
Really. I started this patio rehabilitation because it was going to be a quick, little project. I mean how bad could it be. My thought process - "Pick up the current slates. Get rid of the grass and place the slates back down. No big deal."
 |
| Before - doesn't look like much, but there actually is a natural (very natural) patio under there (literally) |
 |
| Before - randomly placed slates - many unsupported |
I have been through the 3 'R's' of Home Improvement in these 3 weeks. What started as a weekend slate patio rehabilitation ...then turned into a slate patio restoration...that then turned into a full blown slate patio renovation & addition.
The 3 'R's' of Home Improvement - these may not be Webster's definitions, but in my head...
- Rehabilitation - minor fixes to an already establish structure
- Restoration - medium to major fixes without tearing down or tearing out completely
- Renovation - tear down or tear out and start over
- not an 'R' but worth mentioning:
- Addition - make it bigger while you are at it
How to Renovate/Make a Slate Patio - Prepare The Site
Step 1: See what you have already
Our plan originally was just to re-use the slates we had. Pick them up and set them back down in a better fashion. Karen went out to start getting some dirt off some of the partially hidden slates. Low and behold she found 30 or more slates completely covered that we had no idea were there! Bonus. We thought now the patio can be bigger!...and so the expansion had started...
 |
| Step 1 - Karen unearthed these slates. Honestly - 75% of these slight were completely covered by dirt and grass |
Step 2: Pick up current slates
I went around with Lily (I told you she is My Little Helper, right?!) and we pried up every slate. We cleaned them off and placed them in piles based on shape and size. You will see the piles in later pictures.
Step 3: Mark your parameter with sting
- I drove stakes into the ground around the parameter.
- I tied string to each stake making many rectangles...you will see these in later pictures.
- Using a string level (cheap at any hardware store) I made sure the strings were level from one stake to another along the lengths (the sides parallel to the house)
- For the string lines perpendicular to the house - I made sure these lines were pitched away from the house using my string level. The proper pitch is 1/8 inch per foot - this way rain would flow away from the house.
- Note because of the heavy slope of my area the best I could do was a pitch of a 1/4" per foot. A little steeper than suggested, but will still be fine.
Oh! My aching back. This was A LOT of work! Took me the better part of 2 weekends and a lot of Advil....thinking back I probably should have rented a rototiller.
...btw - I learned the hard way that it is a little easier to dig after a rain than before. Not easy...but easier.
 |
| Digging down four inches - you can see my string lines |
 |
| More digging...also you can see the piles of slates that Lily and I gathered |
 |
| A few tools of the trade :-) |
 |
| Finally after the better part of 2 weekends the digging was done! |
 |
| Because of the slope of the original yard I had to build up some 'berms" on the low side to hold in my future steps. I could have gone with bricks or pavers or Belgium block, but we are trying to keep it as natural looking as possible. |
 |
| After a heavy rain - the puddles tell me my pitch away from the house works |
If you are doing this by yourself you will need some time for your muscles to recover.
Step 6: Lay out the Crusher Run (Item 4 or whatever you want to call it)
This weekend (May 3rd & 4th)...I picked up, loaded into a wheelbarrow, dumped, spread out, screened and tamped 5 yards (4 truck loads) of Crusher Run to use as the base of my patio.
5 Yards = 7,500lbs...3.75 Tons!!!
It was a lot of hard work. I was tired. At one point on Sunday I thought I heard Obi Wan Kenobi saying "May the 4th be with you." :-)
.
 |
| 4 truck loads - 5 Yards - 7,500 lbs of Crusher Run! |
 |
| Crusher Run / Item 4 / Base Material |
 | ||
| My Little Helper - Lily She hung out for several hours - She said, "This is easy." |
 |
| At the End of Day 1 (of weekend #4) |
Sunday I started again at 6am and did not stop until I was done with the base layer.
 |
| 6am Sunday Morning - Time to Make the Donuts ...also you can see my Screening Rails |
Steps to a Proper Base Layer of Crusher Run:
When laying out your base you want an overall base of at least 4 inches to protect you from frost heave. So I am using 2.5 inches of crusher run and then 1.5 inches of stone dust (next weekend).
- Lay out landscape fabric over the dirt
- To get the 2.5 inches of crusher run I laid some 8 foot sections of 2x3's on the ground about 4 feet apart to form my screening rails.
- Note all 2x3's are really 1.5"x2.5"
- So they give me my 2.5 inches in one direction and then next weekend I will lay them flat for the stone dust that will add another 1.5 inches = 4" overall base.
- Note the 2x3's are stiff - so they will even out any dips you had in your dirt from digging. So in some spots your base will even be deeper, which is good.
- After I dumped enough crusher run in an area I spread it out with my metal rake.
- Then I would screen the crusher run by laying a 4 foot board between my two 2x3x8's and pulling the board towards me removing any excess rocks.
- Screening with the 2x3's will also help give you a nice smooth surface for laying the stone dust on later.
- Then I tamped the area to compact the crusher run.
- I removed the inside screen rail and filled the hole with more rocks then tamped again
- I repeated this process in 4 foot wide sections until complete.
 |
| Voila! - Completed base layer |


 |
| Ready for next Saturday |
Karen and Lily secretly hoping the patio will be done for Mother's Day. I am not sure that will happen, but it won't be from a lack of trying!
No comments:
Post a Comment