 Mommy really wanted to add a personal touch to our Breakfast Nook in the form of a Gallery Ledge from My Little Helpers. She got the idea for the shelf from the Book of Hints she gave me for Christmas last year. The Handbook Home by Ana White is a great carpentry book for beginners thru novice. The book's target audience is women, but I love it, too. These ladies are talented and the book is easy to follow. Also most of the projects can be built with only basic woodworking tools. Karen has many of the pages earmarked for the future...as do I. I plan to make the Adirondack Chairs in this book for the Slate Patio this spring.
How to Make a Gallery Ledge
Step 1: Determine the Length you Need
One of the best things about making your own furniture is you can customize it to fit you space. I determined the perfect length for our breakfast nook shelf would be 46.5 inches. Good luck finding a pre-built shelf in that exact length anywhere.
Step 2: Find your wood
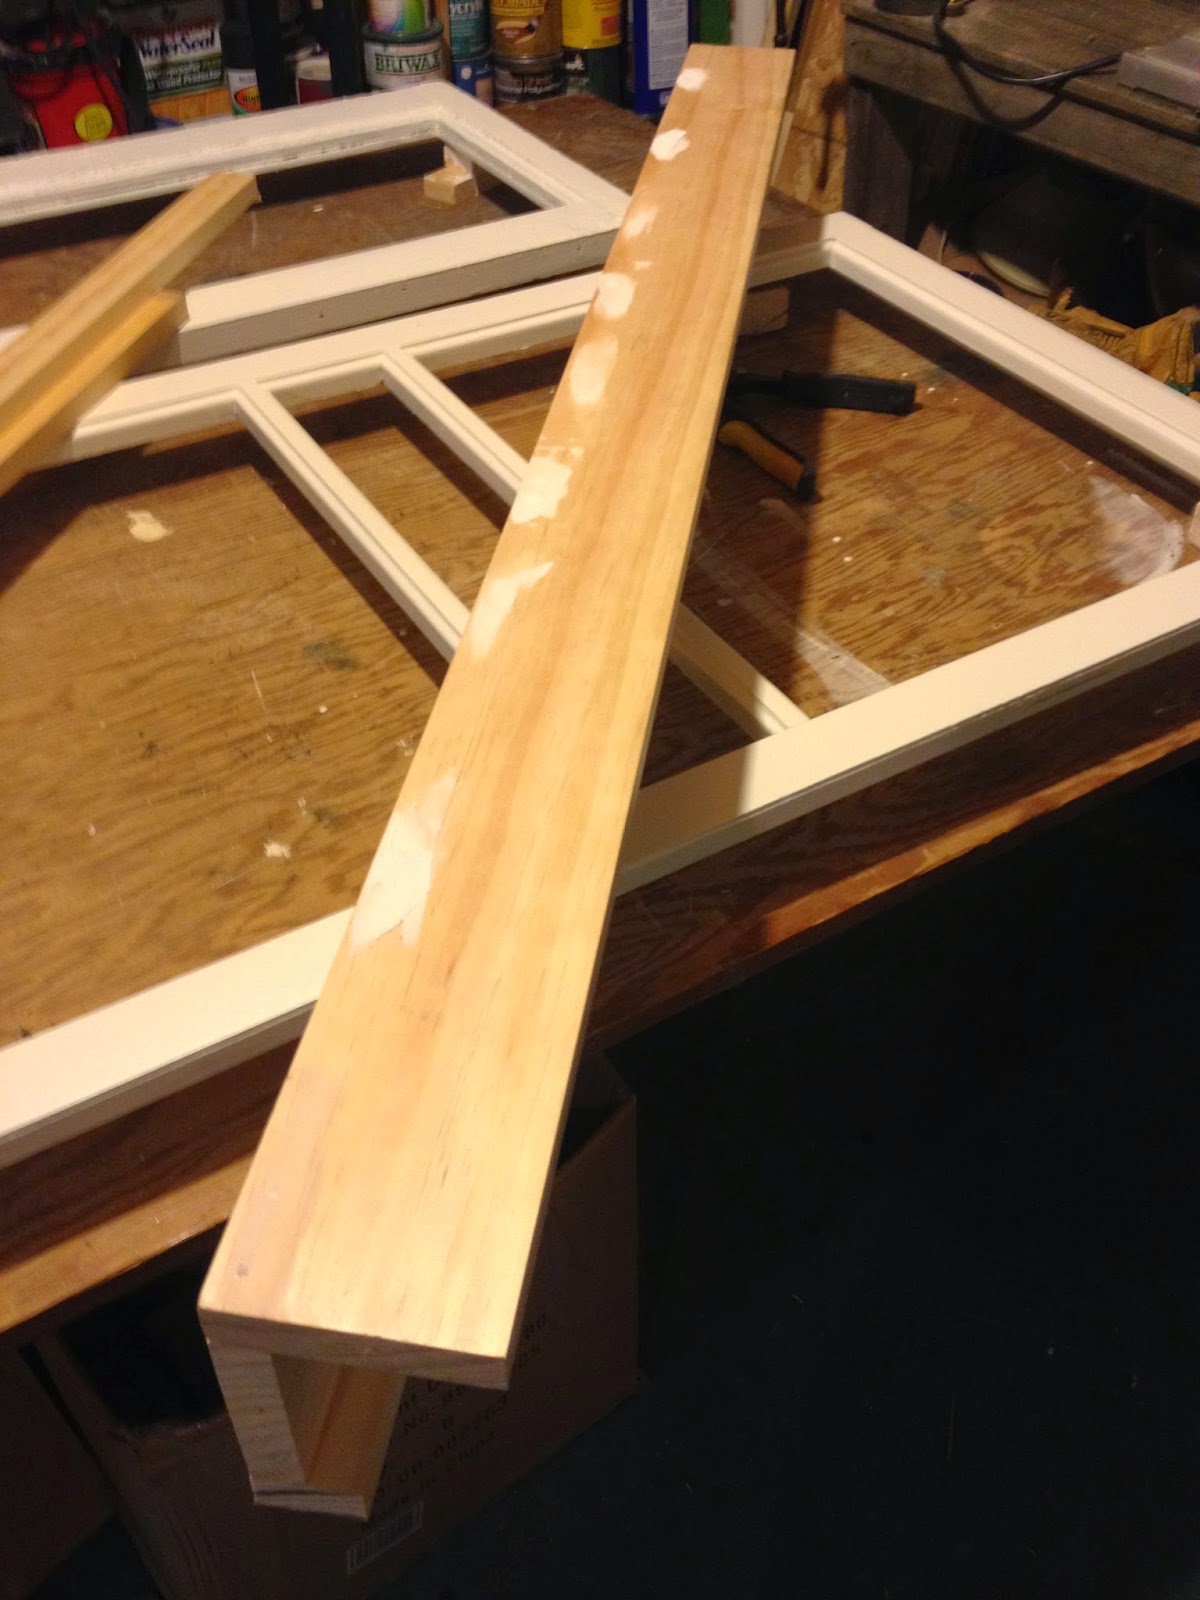
This project can be done with wood you may have left over from a previous project or just laying around in the corner of your basement. The wood can even be beat up and chocked full of imperfections for a nice rustic look (which Karen and I usually go for), but the kids and I decided we wanted this gallery ledge to have perfect squared edges. Plus the kids wanted to "shop for mommy" so off to Lowe's to purchase some hard wood planks. We used 4 inch wide planks for the back and bottom and a 2 inch wide plank for the lip. All planks were 4 foot lengths.
Step 3: Cut to Length
I used my clamps (not pictured) to line up and tighten the 3 sections of wood together and made one cut on my chop saw - this way each of the pieces were perfectly the same length. I did this part - not the kids!!!
 Step 4: Assemble the sections of wood - We used wood glue and my finish nailer to attach the back, bottom and lip - being care the seams were tight and square. You could also use a a pocket jig if you have one (I don't - hint) instead.
Step 6: Sand smooth
I used my hand sander and the kids used sandpaper to make sure all surfaces were smooth
 Step 7: Primer and Paint - We primed and painted the ledge with the same paint I painted the trim work of the Breakfast Nook.
Step 8: Mounting Holes
I should have done this step before I primed and painted, but none-the-less I added three countersunk holes (using two sizes of drill bits since I do not have countersink bits - hint) thru the back of the ledge for mounting on the wall.
Step 9: Wrap for Christmas
Step 10: Mommy LOVES it and kisses everybody
Step 11: Hang on the Wall
With help from Karen, we leveled the shelf and mounted the ledge with wall anchors.
 Step 11: Add your Artwork - Another of mommy's Christmas presents from the kids were framed pictures. When they were younger we took pictures of each of them wearing chef hats and making homemade pizza for the first time. These were always some of our favorite images and the new breakfast nook gave us the perfect place to display these culinary delights.
Great Pictures!
Side View
Bottom View
They even included Carly!...and notice that Luke and I are both wearing our matching Superman shirts - like we do very often!
The homemade ledge, pictures and the peg people are the perfect addition
to the room we eat most our meals at!
Happy Holidays!


