Before Pictures
2 words - Wow! Fugly!


It really is amazing when you think about it. Just how much you are willing to put up with when you find "THE house." It's hard to believe - that with a kitchen like this - we still truly had to fight tooth and nail to get this house. We had a contract, then we didn't, but we knew we did. We hired lawyers. It was a mess. But in the end cooler heads prevailed. It was going to be ours.
Karen LOVED the house and saw its full potential. What did I see?...my "free" time going bye-bye. Don't get me wrong - I loved the house too - but knew what it would take to reach that potential. With that said - its potential has not been reached - but we are a step closer.
The first things we did in the kitchen were wallpaper removal, painting and changed the light fixtures...back in March 2014!...yes I am just writing about it now - a year later - I did not want to reveal anything in the kitchen until I was done. The reason I kept it a 'secret' is because I didn't want to hear "did you finish the kitchen yet?"....because I knew I was going to take a 7 month hiatus to do other projects.
Kitchen Walls & Lights
Step 1 - Goo Gone - Oh my - I really wish I had a before picture of this vent fan. I honestly thought it was a black fan. I was surprised when I de-yuckified it and found out it was silver.
Step 2 - Karen's Handy Work
Karen is always to first to start the wallpaper removal in any room....usually a few weeks/months ahead of when I planned on doing the work. ;-) Karen goes around and rips off any pieces that come off easily. Look at the first 3 pictures of this blog entry for what I mean. She does this to see if it will be an easy job or not...(and to make sure the project gets higher priority on my Honey Do list).
Step 3 - Change the Light Fixtures
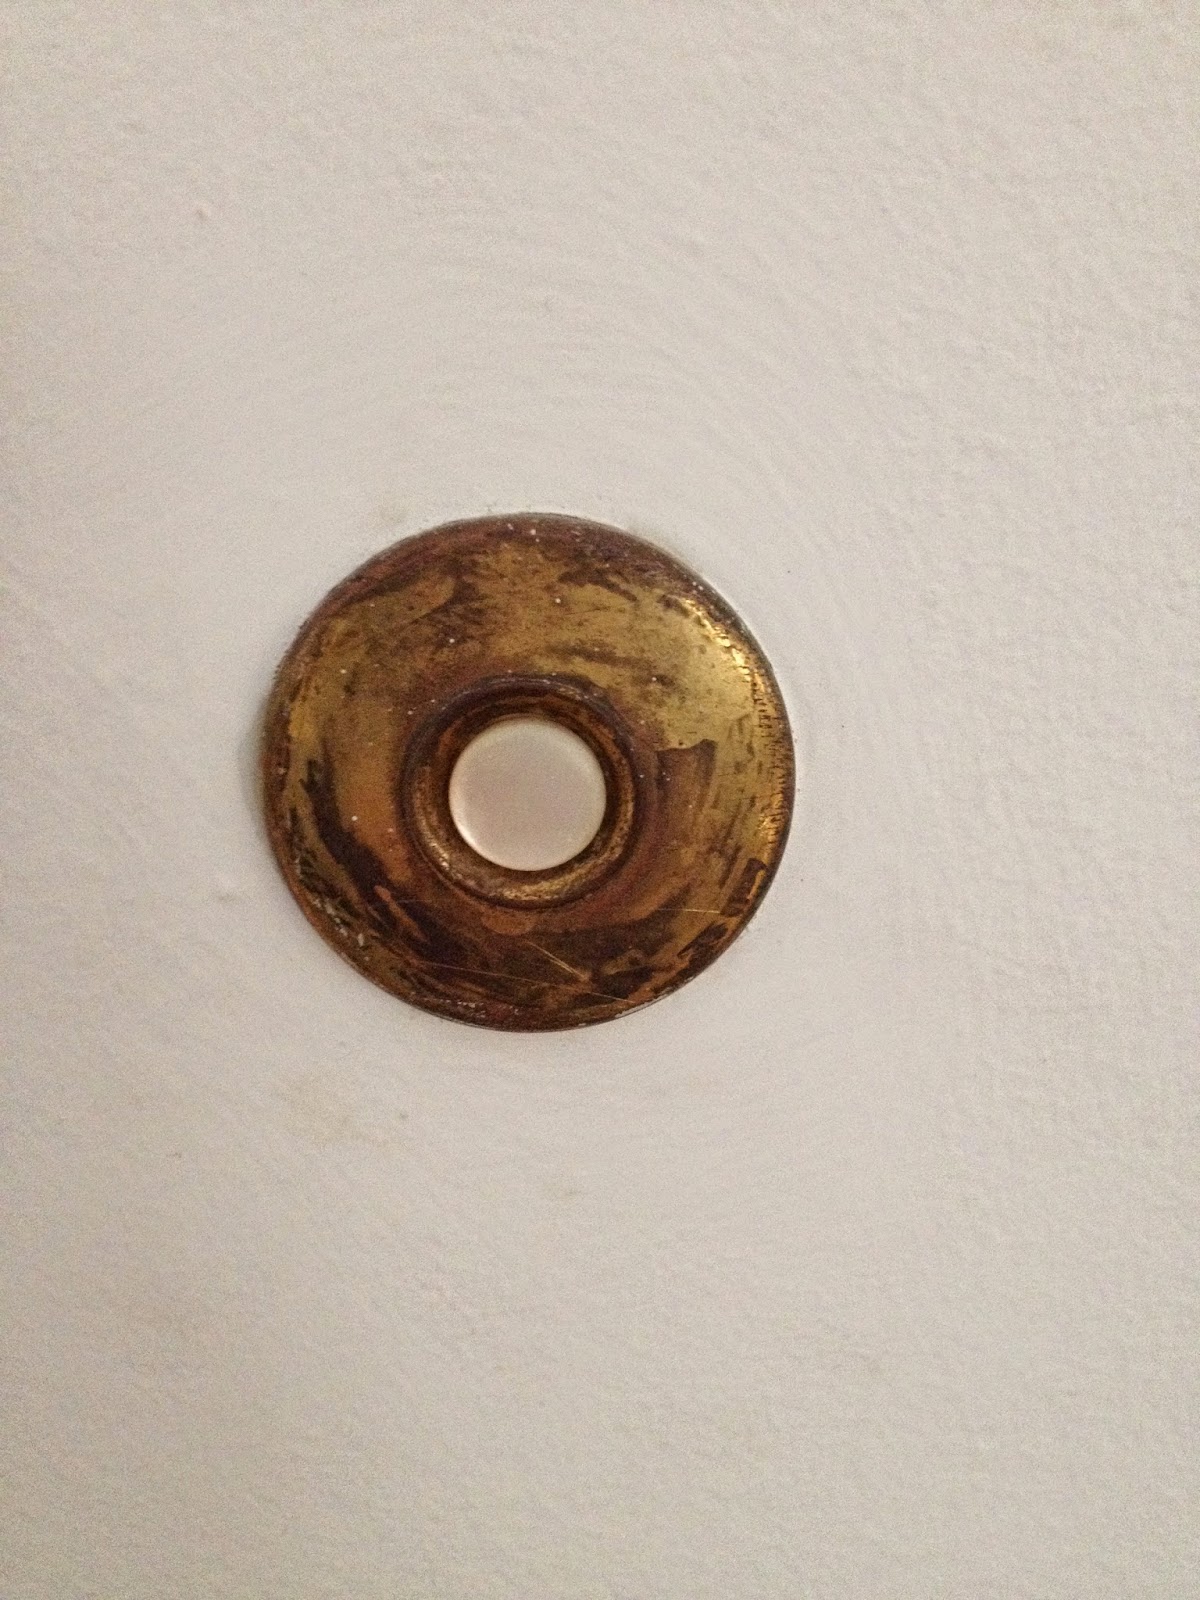
 Normally I would have finished the wallpaper and painted before changing any lights - but we could not handle the florescent light fixtures anymore. As if the cold "work place" ambiance was not enough - they were also falling off the ceiling...in case you think I am exaggerating check the picture to the right.
Changing a light fixture is not all that difficult - but hire an electrician if you must. I hired one for the first light fixtures we changed in our previous home. I watched what they did and since then have been doing it myself.
- Turn off the electricity to the fixture at the circuit breaker - MOST IMPORTANT
- Remove old fixture
- Disconnect wires
- Read and follow instructions on new fixture
- Reconnect wires - black to black; white to white; green to green
- Make sure all connections are secure
- Turn on electricity
 Keep in mind if you are changing to a ceiling fan or the old wiring in your home is frayed or you do not have a grounding wire you may have additional steps...or hire an electrician.
We chose Schoolhouse Pendant lights. Sorry for the less than stellar pictures below...they really look nicer in person than in the pictures...and there are better pics at the end of this entry in the After Section.


Step 4 - Remove Wallpaper
 The day I removed all the wallpaper from the kitchen was less
than fun. 8 hours of prep including paper tiger-ing, spraying the walls,
scraping, scrubbing adhesive and washing and re-washing. After-all a
good paint job starts with good prep work. My Little Helper, Lily (6 years old at the time), was by my side
for at least 6 hours of it asking, "Is it my turn yet?" She was very
excited to learn how to spray the walls with the pressure sprayer and
then scrape the wallpaper off.
The day I removed all the wallpaper from the kitchen was less
than fun. 8 hours of prep including paper tiger-ing, spraying the walls,
scraping, scrubbing adhesive and washing and re-washing. After-all a
good paint job starts with good prep work. My Little Helper, Lily (6 years old at the time), was by my side
for at least 6 hours of it asking, "Is it my turn yet?" She was very
excited to learn how to spray the walls with the pressure sprayer and
then scrape the wallpaper off.She quickly realized it was a wet job and disappeared and then returned with this work uniform.

Wallpaper Removal
- Peal off as much as you can by picking a corner and peeling
- With any luck all of your wallpaper will come off like wrapping paper
- I have had several rooms in my old house come off like this - primarily the better wallpaper (more like a fabric than paper)
- If the wallpaper has been painted over - all bets or off - or if your wallpaper just rips (like in the first 3 pictures of this entry) then you need to take a Paper Tiger to the walls.
- They are cheap and available at any hardware store, home center or paint store
- You roll the Paper Tiger over the surface scouring the surface of the paper (leaving thousands of tiny holes in the paper).
- Using a pump sprayer (can be found near the insecticides and lawn care products at any home center) - fill the sprayer with hot water and some fabric softener
- Spray the wallpaper until thoroughly wet. You may want to protect your floors with old towels (never throw out a towel - save them in a sterlite container for home projects)
- Wait 15-30 minutes - let the mixture work its magic - the longer you wait the easier it will be
- I usually Paper Tiger and spray the next wall while I am waiting on the current wall
- Use a putty knife (1.5" to 3" I find works best) to scrape off the paper
- Take off the easier stuff
- Re-wet, wait, scrape again - repeat until all paper is gone
- OK so the paper is gone...but you are not done yet! Just because the wallpaper is gone does not mean the wall is clean. If you touch the wall it will feel slippery/slimy. It is the wallpaper adhesive that is now wet.
- If you try to paint over the adhesive it will bleed through your paint and ruin your paint job!
- Spray the walls again.. Use your putty knife to get most of the adhesive.
- Then use a wet scotch brite pads to get the rest.
- Then wet a towel and clean off the wall.
- When you are done the wall should look and feel clean
- The final step is to fix any cracks or fill any holes with joint compound- let dry - sand - tack cloth the loose dust.
 I know this sounds like a lot of work - and it is!
 Want proof?
Just look at how crazy Lily was by the end of the day!
...she really does make hard work a lot more fun!
Step 5 (well really Step 34 if you include every step of wallpaper removal as its own step) - Remove the Back Splash
- Rip off the backsplash any way possible (ours was formica).
- Remove as much adhesive as possible with a putting knife.
- Skim coat the areas with joint compound
- Sand smooth
- Use a tack cloth to remove the excess dust to prep for paint


For you NFL Football fans - Much to the chagrin of this Pittsburgh Steelers fan - somehow the Baltimore Ravens logo ended up on my wall. It was not by design - the pieces just came off like this.

As with most home renovation projects...
...part of making things look better is to first make them look worse.
Step 6 - Paint
 |
| Lily by my side again - now 7 years old |
- 1 coat of Benjamin Moore primer
- 2 coats of Benjamin Moore Ceiling White on the ceiling
- Two coats of Benjamin Moore White Dove (satin finish) on all the crown molding, trim work and doors. I used their ADVANCE Waterborne Interior Alkyd Paint. It self levels much better to a smooth finish. Brush strokes are barely noticeable.
- For some contrast we chose Benjamin Moore Navajo White (Regal Select Eggshell) for the walls.

Did I mention that Lily is My Little Helper?! Watch out Nicole Curtis! Lily will be ready to take over for you when you hang up your tool belt....
If you don't watch it...I highly suggest watching Rehab Addict on HGTV. Great show. Lily loves watching, too. Lily thinks Nicole is cool and makes ugly houses look pretty...and you know what - she's right!
In the above pictures - Lily is painting the refrigerator nook. We had to protect the wide plank pine floors before rolling the refrigerator out of the kitchen. Here are some pictures of that process.


The After Pictures


The kitchen is looking better.
My next entry (coming soon) will show you how I refaced our cabinets using the original doors. Truly a total transformation!